 Though some forms of tie-dye can be traced back thousands of years to India and Egypt, then to Peru and China as early as 500 A.D. and then other parts of Asia in the 8th century – modern tie-dye was invented in the 1960’s in the U.S. as part of the psychedelic fad made popular by cultural icons like Janis Joplin, the Grateful Dead and Jefferson Airplane.
In 1970, Time Magazine asserted that tie dyeing was the latest fad “started among the flower children of California” and the colors and patterns were “pure psychedelica….spread[ing] rapidly through the rock world.”
Before that, tie-dye really gained momentum when Don Price, a marketer for Best Foods, first tried to revive the failing RIT Dye brand in 1965, Until then, it had been used primarily to dye curtains and home accessories. After searching New York’s Greenwich Village neighborhood for artists who could help him appeal to the hippie crowd, Price hired unemployed window decorators Eileen and Will Richardson to tie-dye bolts of velvet and chiffon that he would then promote to fashion editors. While no one initially showed interest, celebrity fashion designer Halston eventually placed a $5000 order. RIT Dye was saved and a fashion craze was born.
In observance of the 46th anniversary of Woodstock, the single greatest music festival of all time and the event that really put tie-dyes on the map, here is a simple step-by-step to make your own tie-dyes and celebrate properly:
Tie-Dye Instructions
(Courtesy of Michael’s)
| STEP 1 | Pre-wash shirt to removing any sizing. Do not use fabric softener and do not dry. |
| STEP 2 | While shirt is wet, lay shirt flat onto work surface. |
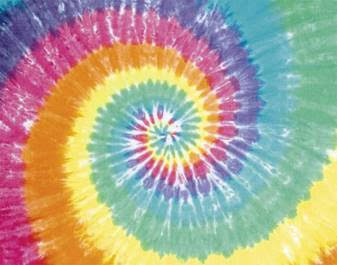
| STEP 3 | At the site where you want the center of the spiral, pinch the fabric and twist into a flat spiral. |
| STEP 4 | Bind with rubber bands included in Tie Dye kit around the shirt in a pie-like manner. |
| STEP 5 | Set up work surface by covering with a plastic table cover. |
| STEP 6 | Add water to the fill line on the dye bottle. Replace cap and shake until dye has dissolved. |
| STEP 7 | Apply dye to shirt. Use different colors within the “pie wedges” but you do not need to stay within the lines of the rubber bands, but make sure the dye penetrates the folds. Do not over-saturate fabric.
Tip: Wear protective gloves included in kit. |
| STEP 8 | Flip over and repeat Step 5. |
| STEP 9 | Cover dyed shirt with plastic wrap to keep damp. Let set 6-8 hours or longer for more intense colors. |
| STEP 10 | Rinse well with water until all excess dye is removed. Cut the rubber bands and re-wash separately. |
Designs are endless. Here are a couple sites we found with tips and advanced techniques:
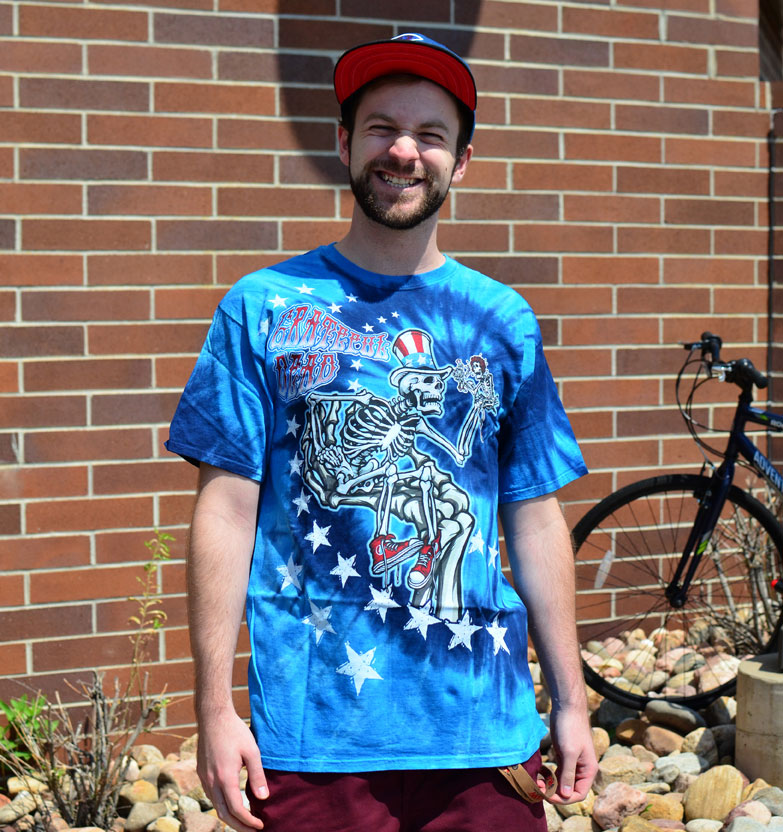
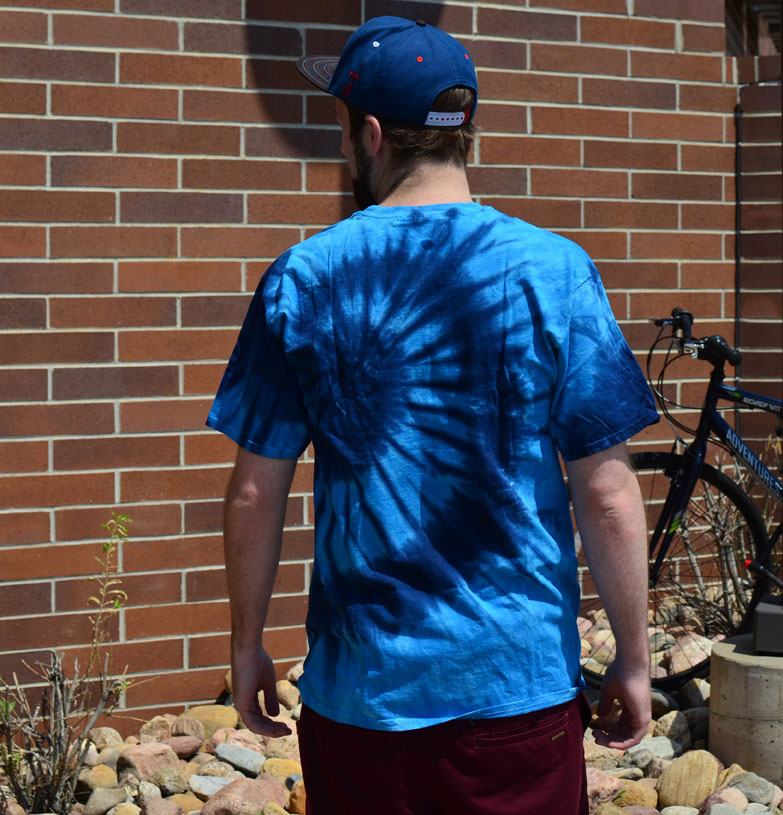
Bonus: you can start off or add to your tie-dye collection here at Headed West! Below is an example of the many Liquid Blue tie die designs we sell in store and online.